Guide for 3D Printing Crown and Bridge Models
Within this application guide, you will acquire the knowledge to achieve successful model printing. It is crucial to adhere to the recommended workflow in order to attain precise and accurate outcomes.

Required Hardware
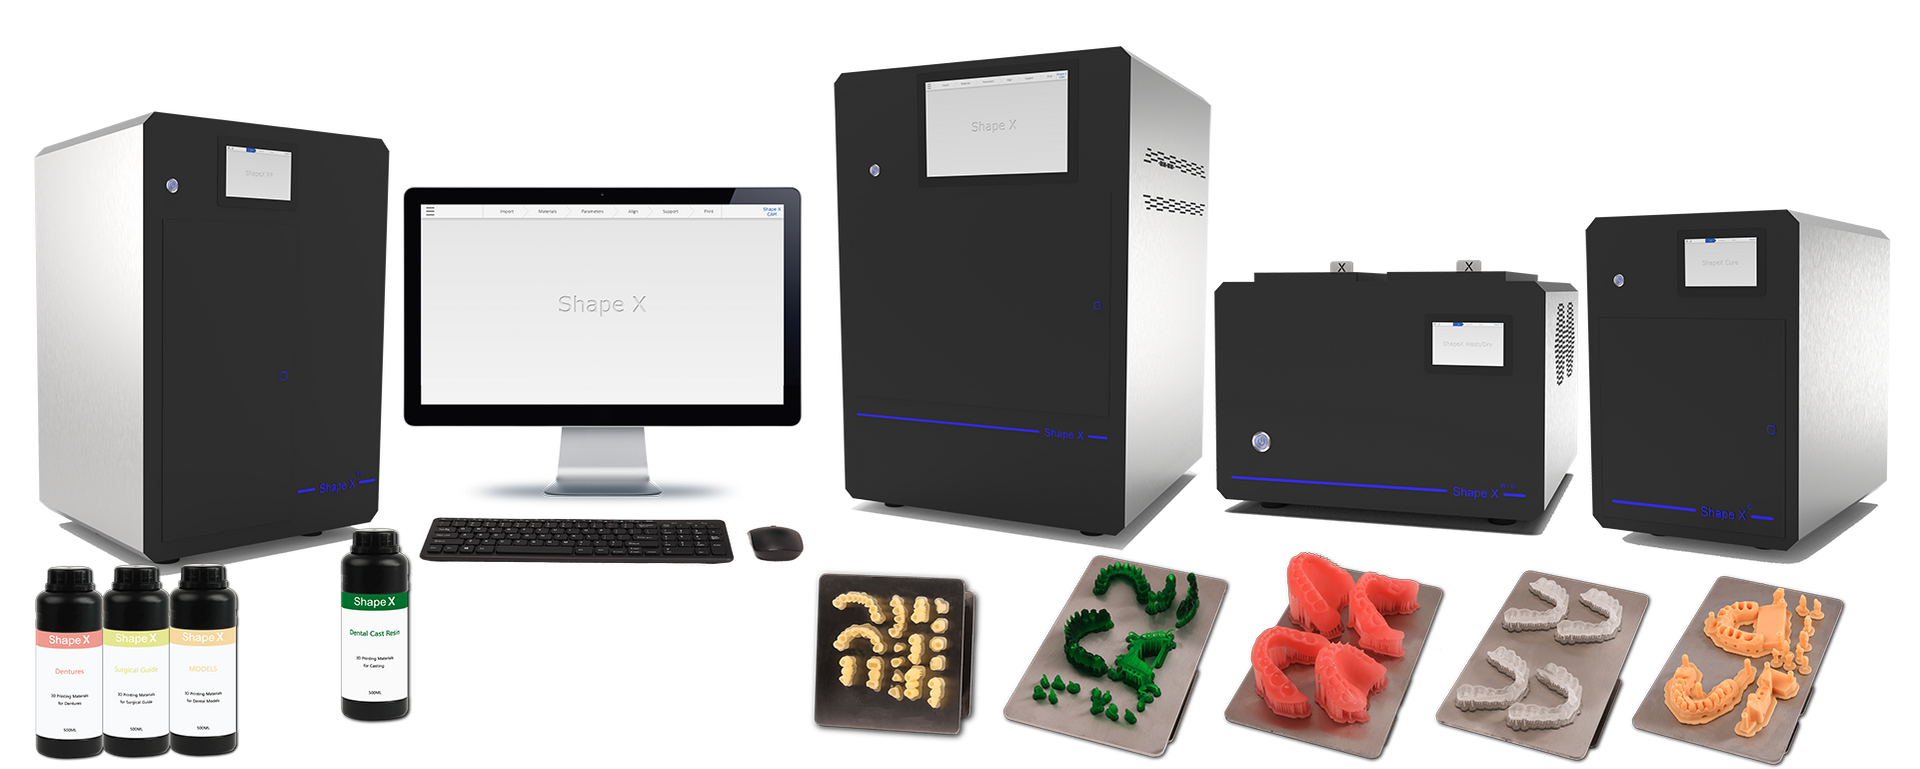
- Shape X RP
- Shape X 3D Printer
- Shape X Wash/Dry
- Shape X Cure
- 3rd Party Dental Lab scanner for dental models or impression.
- 3rd Party Intraoral scanner for direct patient scan.
Required Software
- Shape X CAM
- 3rd Party Dental CAD software for designing restoration.
Required Materials
- Shape X Model Resin.
- Isopropyl alcohol (IPA) ≥99% .
- Cutting tools.
1 > Scan
In order to design a dental prosthetic using dental CAD software, it is necessary to obtain a digital representation of the patient's anatomy. This can be accomplished by either directly scanning the patient's mouth using a 3D intraoral scanner or by scanning a physical impression or poured model using a desktop 3D scanner.


2 > Design
To generate a dental model suitable for crowns and bridge restoration, it is important to carefully follow the instructions provided by your dental CAD software. These instructions will guide you in creating a dental model that meets the necessary requirements for successful crowns and bridge restorations.
To reduce printing costs, we recommend using a hollow dental model with a minimum wall thickness of 2.5mm. It is advisable to incorporate multiple vent holes, each with a diameter ranging from 3 to 4mm. These vent holes help prevent the formation of suction cups that can lead to failed prints.

Most dental design software typically generates a manufacturing file in the .stl format. To proceed, you need to find this file and transfer it to Shape X 3D Printer.
3 > Print


> Import your STL File with Add Button
> Choose your required materials "Model Resin " and required layer thickness and Press Submit.
Choose your job Parameters "Dental Model mode with removable dies" and press Submit.


> Use Automatic nesting, move, rotate to align your model to desired position
> Use Automatic support generator to generate attachment layers for models.
> Click on "Start" to generate slices. Then "Print" * to start print process.
* Before Press "Print" button:
> Please ensure that the black screw of the build platform and the set of two screws that hold the resin container are securely tightened.
> Carefully inspect both the build platform and the resin container film to ensure there is no cured resin present.
> Ensure that the resin temperature falls within the recommended range of 25 to 35°C. Preheat the resin if necessary and mix it thoroughly with Shape X RP. Before use, clean the resin container with a filtration paper if it has been previously used. Additionally, ensure that the resin is not expired and that the quantity in the container is above the indicated minimum level.
4 > Post Processing
It is important to consistently wear gloves when working with uncured resin and its corresponding parts.
4.1 Part Removal
To remove the printed parts from the build platform, utilize a scraping tool positioned beneath the part raft. By rotating the tool, gently separate the parts from the platform.

4.2 Washing
In a well-ventilated area and while wearing appropriate protective masks and gloves, submerge the printed parts in an isopropyl alcohol (IPA, ≥99%) solution within the Shape X Wash/Dry apparatus. Allow the parts to undergo a 3-minute washing cycle.
or submerge the printed parts in an isopropyl alcohol (IPA, ≥99%) solution within a black box. Allow the parts to undergo a 6-minute washing cycle.

4.2 Drying
Utilize compressed air to aid in the drying process of the parts, facilitating a quick inspection of unwashed resin remaining after using Shape X Wash/Dry machine.
4.3 Curing
1> While keeping the raft and supports intact, position the printed parts in the Shape X Cure device with the raft side facing downwards. Proceed to post-cure the parts for a duration of 2 minutes.
2> Remove Support structure and raft with cutting disc.
3> Clean Parts from white powder with IPA, then compressed air.
4> Position the printed parts in the Shape X Cure device. Proceed to post-cure the parts for a duration of 2 minutes.

5 > Complete Job
To finalize the case, carefully place and assemble the dies into the models, ensuring all components are properly aligned. This step completes the process.


